It wasn't a big deal, especially in light of the other household issues going on, but it did bug me. No water was leaking outside of the toilet, but there was a constant, small sound of water tinkling into the tank.
I removed the tank lid and experimented with all of the parts, eventually figuring out that if I twisted one particular part, the dribbling stopped. Unfortunately it only lasted for a flush or two, and then I had to remove the lid and twist again.
I was busy, so I lived with it for a while. My parents took a look while they were out, and diagnosed a loose seal. Their suggestion? Buy a kit and replace the innards.
So that's what I did. And, like a good blogger, I chronicled it with photographs. Luckily for you, this turned out to be a much bigger adventure than I had planned...
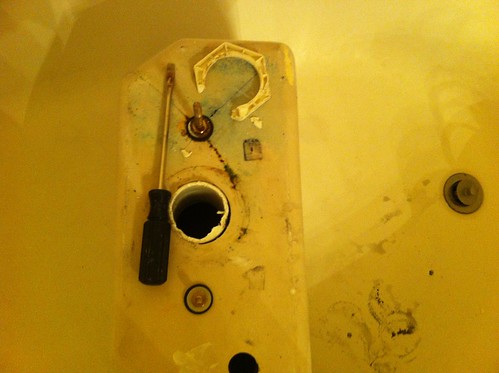
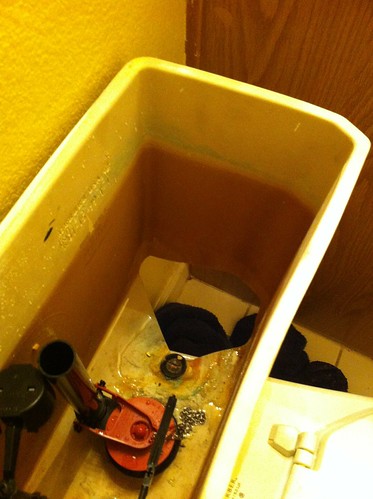
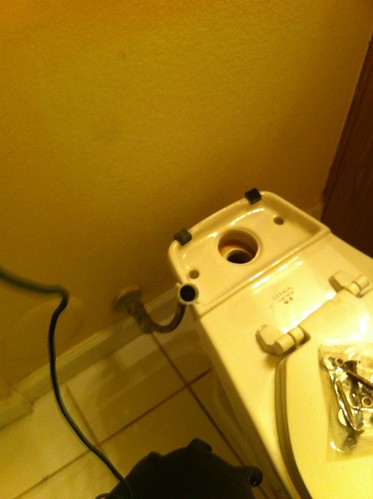
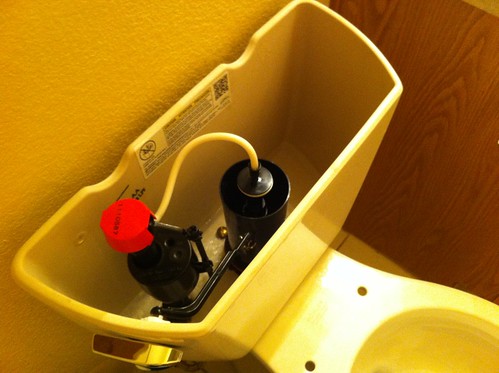
Here's where I started:
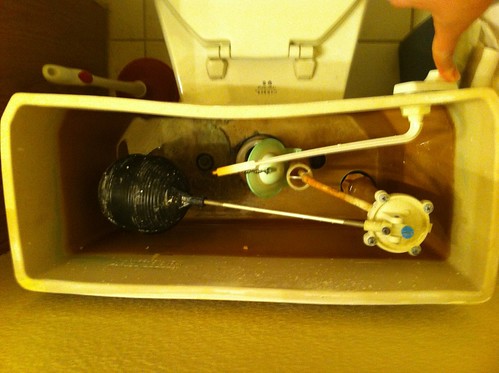
That blue screw is what I kept tweaking to stop the leaking.
Until now, that is! Now I rip out the guts and install all new ones, for I am a strong, independent woman!
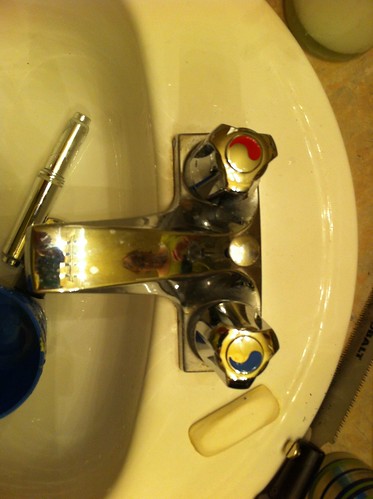
While I was at it, I figured I would also replace the handles on my sink. The plastic ones with the flimsy, easily-dirtied label caps have been bothering me for years, and I figured the toilet project would only take me an hour, two at the most. I can totally do all of this on a Monday evening and still have time to vote and scan my insurance papers.
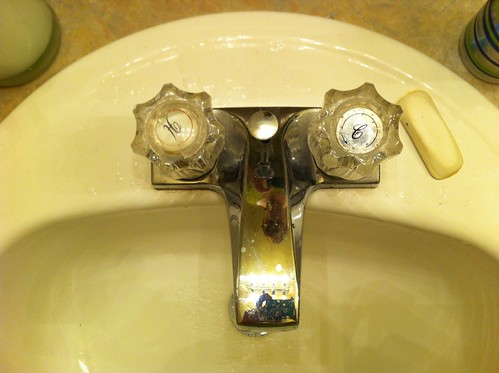
Farewell, plastic sink handles!
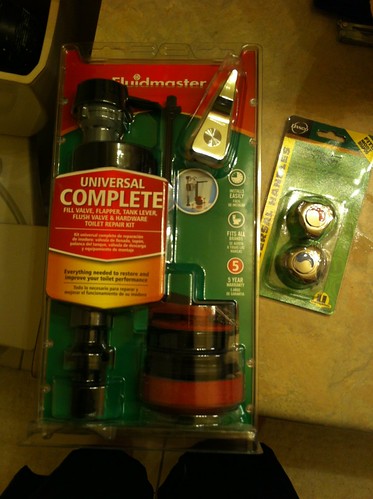
Hello, new handles and toilet innards!
Like a good repair-person, I read through the instructions a few times, then gathered the recommended tools. I also gathered my stack of blue surgery towels. I'm not sure why they're not included on the list. Doesn't everyone have a stack of blue surgery towels? They come in handy, I tell you.
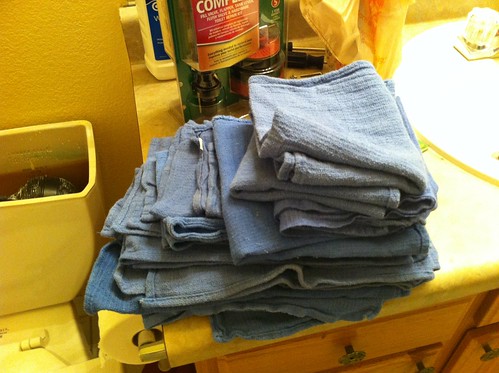
Blue surgery towels! They're not just for retinas anymore.
I emptied out the tank, first by flushing, then by scooping water with a cup, then with blue surgery towels. Once dry, I started loosening the screws underneath it, which made my hands look like this:
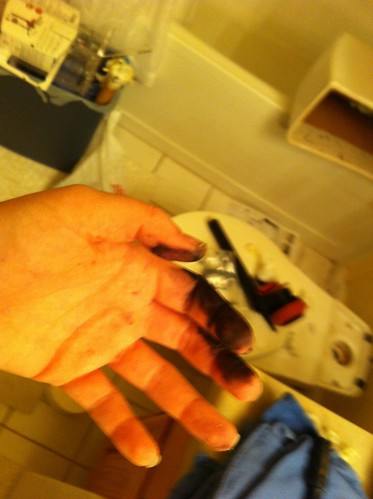
This is not the most disgusting my hands will look in this process.
Soon the tank was free and perched on the side of my bathtub for a blog photo (oddly, also not a step in the instructions. These instructions are woefully lacking):
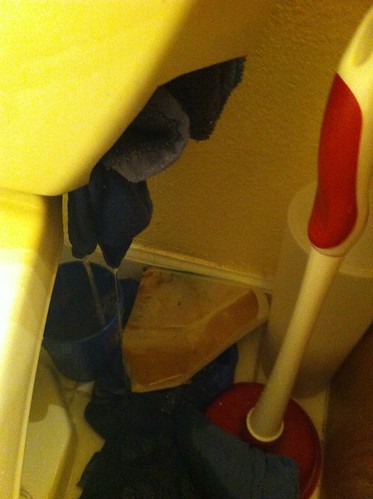
I flipped over the tank to dismantle the innards. I was surprised to discover a few cracks on the bottom. They were green and rusty brown and had obviously been puttied over by the previous owners of this house. I didn't see any trace of the cracks on the inside, though.
Huh. That's pretty cool that putty can prevent leaks so well!
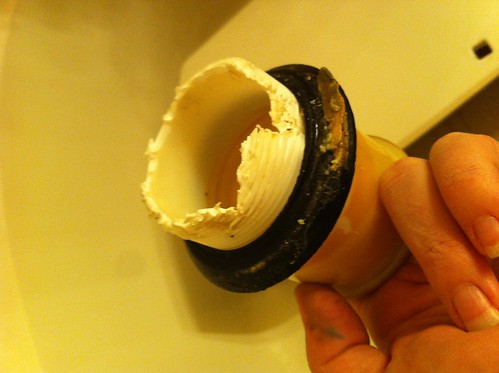
I turned my attention to the plastic tube. The instructions had a friendly little arrow showing how I simply unscrew it.
Not so much, friendly little arrow. After a lot of straining and attempts with various tools, I took a set of pliers and a flathead screwdriver to it and broke it into small enough pieces that I could wedge the screwdriver between the threads and pry the whole thing apart. 'Cause I'm a tenacious, self-sufficient woman! W-O-M-A-N!
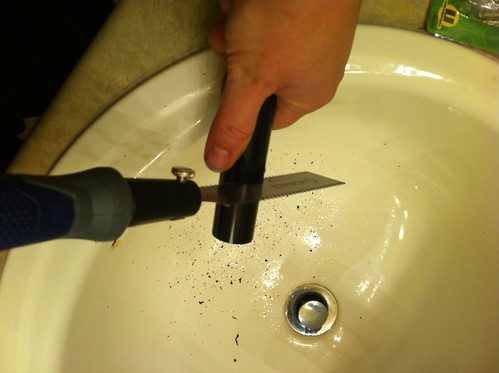
Time for the new innards. I measured the flush pipe, then used my hacksaw to cut it to length.
Behold! Fitted innards!

The end was in sight, and I was pretty proud of myself. I tightened the new screws to connect the tank back to the bowl, reconnected the water hose, and turned it on.
Water flowed and then immediately began to leak out around all of the screws.
Dang it.
I turned off the water; grabbed my wrench; sat on the floor, straddling the toilet like a three-year-old straddling a parent's leg; and started tightening the bolts. The rubber seals were in place, so I wasn't sure why it was dripping so much water. I gripped the bolt on the left side and twisted.
And twisted.
And twisted.
And then I heard a slow, not-so-loud cracking sound.
And then I heard a crash.
That would be a giant hole in the right side of the tank. It seems putty is not such a great way to plug cracks in a toilet tank. The entire corner fell out, and water was now splashing all over my floor.
More blue towels!
I sopped up the water, removed the tank again, and decided to take a break from fixing the toilet to fix my sink.
Behold! I am a strong, capable woman!
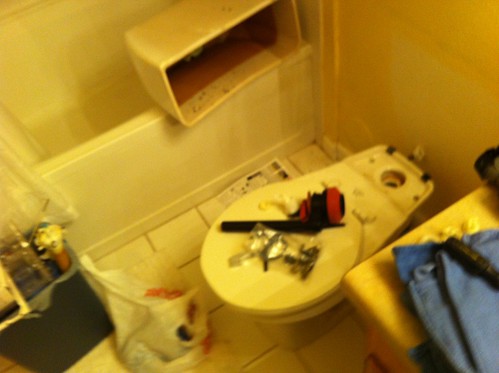
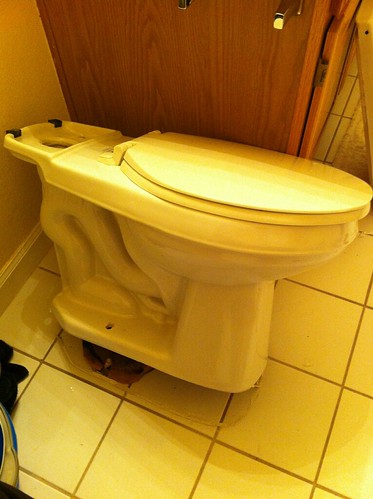
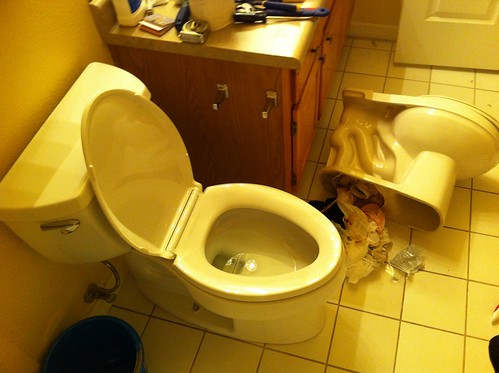
Unfortunately, my toilet still looked like this:
Fortunately, I have a second bathroom in my apartment. I decided to clean up what I could and then see about going to buy a new toilet.
The old tank was still sitting in the bathtub. I hefted it out, measured it for my notes for shopping for a new one, then took it out to the patio.
Then I returned to the bathroom and discovered that the screws in the bottom of the tank had punctured two holes in my bathtub.
Crap.
I was having less fun with this adventure at this point, so I did not take a picture of the holes. Just imagine a bathtub bitten by a very large vampire, and you get the picture.
Damn vampire toilet tanks.
But I am a self-reliant woman of pioneer stock! I have silicone on hand!
I fetched my tube and squeezed out the white goo to fill the two holes. It was while I was leaning over the side of the tub to scrape the previous-holes smooth that I both heard and felt a pop in my ribs.
Yup. The underwire on my bra had just snapped in two.
That's when I called it a night. Bad things come in threes, and I had just broken my toilet, my bathtub, and my bra. It was time to go to bed.
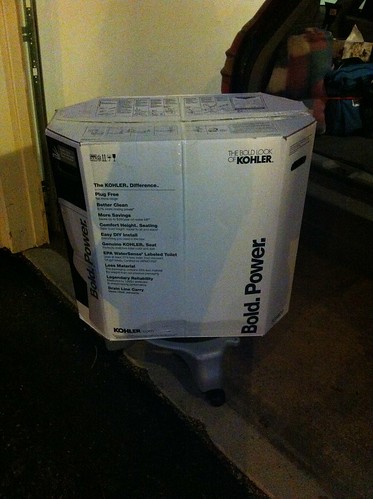
The next morning I compared reviews and picked out a new toilet, which I purchased online during lunch for in-store pickup after speech practice.

There was an accident on the freeway home, so I wound up sitting in traffic for 45 minutes before being diverted to a different road through the mountains that added another hour and an awful lot of switchbacks to my drive. When the road finally spat me out near Red Rocks Amphitheater, it was almost six o'clock. I made it to the hardware store though, and in a piece of lovely luck, the new toilet fit in my car!

However, as much as I wanted to, I couldn't take the strong young man with leather gloves who put it into my car home with me. Which meant that once I got to my garage I had to get creative.
How does one get a very heavy new toilet into one's apartment without a strong young man with leather gloves?
With the bottom half of a yoga-ball-rolly-chair, of course!
I rolled the new toilet to my bathroom and Googled instructions for removing the old one. They appear to be:
1. Drain the water. (Check!)
2. Cut the seal. (Check!)
3. Rock from side to side until it comes off.
Um... okay.
I straddled the toilet, grabbed on, and heaved to the right.
Nothing.
I heaved to the left.
Nothing.
Once again, the strong young man with leather gloves would have been handy.
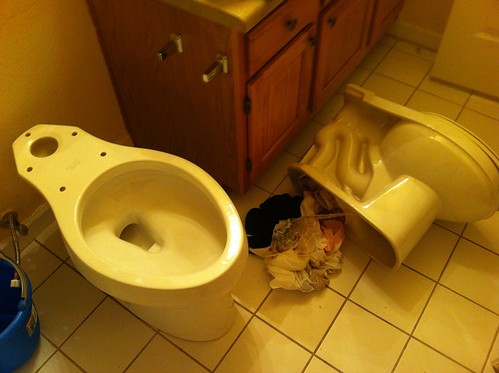
But I am a hearty, autonomous woman! I heaved again left and right and left and right and felt a seal suddenly start to give way. With a grunt that sent the curious cat running from my side back to her hiding place in my closet, I peeled the toilet from the ground:
Huzzah!
The next step was to scrape away the wax ring from the hole in the ground. I did not take any photos of this because ew, gross. I scraped, scrubbed my hands, unwrapped the new toilet, and set the new wax ring in place before setting the new toilet in place.
Success!
Like a turkey, the new tank came with all of its innards. I set it in place, leveled it, and fastened the bolts.
Then I connected the water hose and turned the faucet.
Success encore! Water flowed into the tank and bowl, yet didn't flow anywhere else!
I fitted on the lid and screwed on the seat, then took a celebratory picture.
Truly, there has not been a work of art such as this since R. Mutt.
I packed up the remnants of my former toilet and used the yoga-ball-rolly-chair to haul the load out to the dumpster. No need for a strong young man with leather gloves to hoist it up into the trash! I am a vigorous, sui juris woman!
And thus I add a new toilet to the list of home improvements in 2012 (see also new dryer, dishwasher, floors, walls, and washer hoses).
I will also add that I may have broken a toilet tank, a bathtub, and a bra in the process, but I did not break any nails.
I'll say it again!
You are super Woman! Sorry to hear about your tub. It seems its not possible to do a project without collateral damage. At least that's my experience. I hope the DAP works for your tub.
ReplyDeleteLove you lots, Mom
Hahaha! That made my day! :)
ReplyDelete-Ashley (Jason's sister...)
This was hilarious. And how most of my home improvement projects go too. Having changed a couple toilet innards myself, I know exactly what stupid screw you were talking about. I think we had to hacksaw it off. There may have been melting involved. Maybe next time I will replace the whole toilet. It sure looked easier according to your post.
ReplyDeleteFabulous entry! LOL! I can sympathize...Cindy
ReplyDelete